When Facebook was first launched in 2004, it wasn’t as big as we see it today.
At that time, there were no messaging and notification features. Neither was there any wall or any option to make any status updates. And a user was allowed to upload only one photo.
Here are a few screenshots to remind you how Facebook looked at that time:


Since then, this social media platform has evolved rapidly. The news feed was added in 2006 and the Facebook chat was introduced in 2008. By October 2012, almost 1 billion people in the world had their profiles on Facebook.
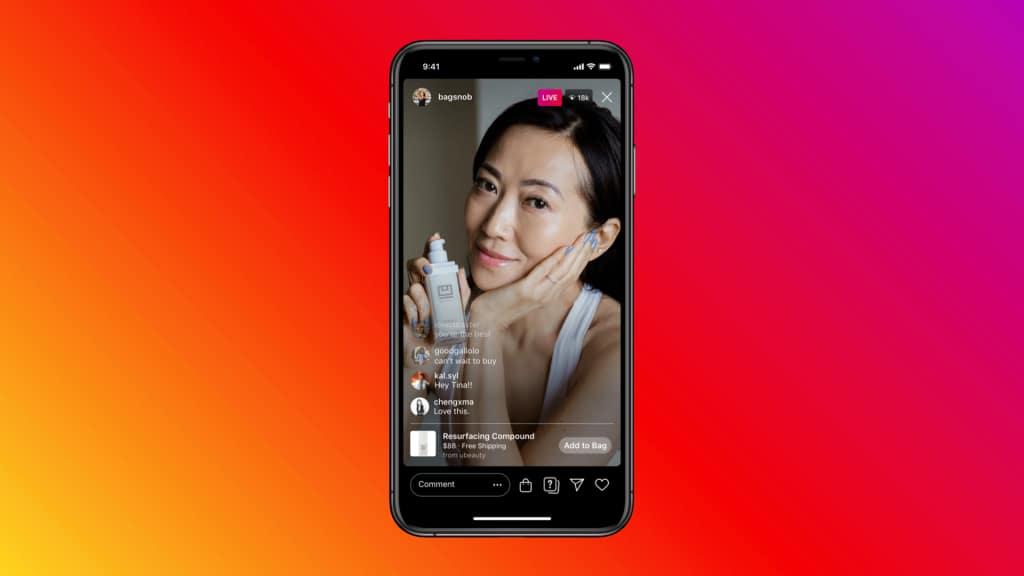
In April 2016, Facebook started a feature called “Facebook Live”, that allowed users to broadcast their live video on their timelines.
Since its launch, the Facebook Live feature exploded in popularity, with over 3.5 billion live broadcasts created by the users within two years.
In case you haven’t yet explored this feature or if you don’t know how to go LIVE on facebook, here is your detailed guide.
We will tell you everything, right from how you should start a Facebook Live on PC, how to analyze your live video, and where to end.
Let’s get started!
Make the First Choice
The first thing you need to decide is whether you want to go LIVE through your smartphone or desktop. A smartphone can be a great option for events and off-the-cuff live broadcasts.
However, in most cases, a Facebook Live Stream from a PC is a better option, especially for marketers using Live to promote their business. It will help you broadcast your live streaming in a more professional manner.
Below is the step-by-step guide to use Facebook Live on PC or laptop.
Step 1: Go to Facebook.com and Log-in to Your Account

The first thing you need to do before you can start your own Facebook live video is to log into your Facebook account. Visit Facebook.com and enter your e-mail ID or phone number and password, and then click on Log In.
In case you do not have an account yet, you can fill up the details below the “Create An Account” section and click on “Sign Up.”
Step 2: Go to Your Facebook Homepage and Tap on “Write Something” box

Next, you need to go to your Facebook homepage and tap on the “Write Something Here” box as you do when you write a new post. In some cases, it might show as “What’s in your mind?”
When you tap the “Write Something” here or “What’s on your mind” box, you will get a drop-down menu displayed in front of you. It will contain options to share pictures and videos, to tag people, and update how you are feeling, among several other options.

You need to choose “Live Video” from this drop down list, and a new window will appear in front of you. Alternatively, you can also click on “Live” on the Create toolbar located just below your cover page on your profile homepage. Read this comprehensive guide to learn more on how to get started with Facebook Live.
Step 4: Schedule Your Facebook Live Video
From here, you can schedule your Facebook Live video. Start immediately or decide a future time and date for your Live.
You will be asked to “Say something about your Live video.” In this box, you need to write a compelling description or header and a summary for your Live Video. Make them catchy enough to attract the viewers.
Step 5: Start a Live Broadcast
Now, you are all set to start your Facebook Live broadcast. Below are the steps to start your Live broadcast:
- Click on “Use Camera” icon
- Select your camera and microphone (If you have plugged in an additional web-cam and mic)
- Give Facebook permissions to use your camera and microphone
- Click on the “Go Live” button

Step 6: You are now Live!
Done everything mentioned above? That’s it!
You are now Live. Smile!

Interact confidently and cheerfully engage with your audience. You can read live comments and reactions from the viewers during your Live video.
Step 7: End Your Live Broadcast
After you’ve completed the Live, you can click on “Finish” or “End Live Video” to end your Live broadcast. The recorded video will appear on your timeline and others’ news feed. You can tag more people in your video and even change its description afterward.
If you want more engagement on your video, you can pin it to the top of your page so that it’s the first thing people see when they visit your homepage.
Facebook Live Features
Merely starting and ending your Live video are not the only things you can do with Facebook. You can even analyze your Live Video or schedule your Live video for the future. Besides, there are many more Live video features that Facebook offers. Here are some:
1. Schedule Your Facebook Live
Want to go Live on a future date? You can schedule your Facebook Live in these steps:
- Select “Schedule a Live Video” below the Go Live option
- Set a date and time on which you want to go Live. You can also add an image to grab the attention of viewers who will be watching this post
- Click on “Schedule Live Video”

2. Admin-only Mode
This mode is particularly useful for first-time users. If you just want to practice your Live show ahead of the actual Live video, you can use the admin-only mode offered by Facebook.
Under this mode, your live video will be visible only to you and other page admins (if any). You can check if everything is working properly before going live and even use this feature to get used to the Live camera.
To apply this feature, you need to scroll down on the left-hand sidebar of your Facebook Live broadcast page, and check the box which says, “Publish as a text broadcast.”

3. Screen-sharing during Live
If you are using your Facebook Live broadcast to teach or present something to the viewers, the screen sharing option can be useful for you.
Using this feature, you can show your desktop screen to the viewers during a Live Video instead of showing the contents of your webcam.
To start screen sharing, you need to go to the set-up menu on the right-hand side of your Facebook Live broadcast page, and click on “Start Screen Share.”

4. Use Graphics during Live Broadcast
You can enhance your presentation or video by adding graphics to your Live broadcast. It will make your Live video more attractive and hence, can help in holding your viewer’s attention for a longer period of time.
To add graphics to your Live video, you need to click on the “Graphics” tab located at the top of your Facebook Live broadcast page.
You can then select the type of graphics you want to add to your broadcast, such as comments on the screen, image overlay, a moving ticker, or a permanent logo.

5. Analyze Your Live Video’s Performance
You can analyze your Live video performance and get insights about the viewership, likes, comments and other details. This will help you in maximizing the reach of your Live broadcast.
To analyze your Facebook Live broadcasts, click on the “Insights” tab located on the top of your Facebook Live page. You will get a drop-down menu from which you can choose to view the insights on particular subjects.
For pre-recorded videos, Facebook allows you to analyze minutes viewed, total number of viewers, 10-second views, video news, average time viewers spent on your video, and a breakdown of the reactions, comments, and shares received on your video.
For Live videos, Facebook lets you view all the metrics mentioned above along with the peak live viewers on your video, reach of your video, and the demographics of the people watching your video.
Bonus Tips
Now that you know what all you can do with your Facebook Live broadcast, you can tap into this exciting world of live-streaming and start your Facebook Live video now. But before you start your live broadcast, below are some awesome tips to make your Live even better:
- If you are not a professional live-streamer, ensure that you practice multiple times using the admin-only feature before going live
- Take efforts to differentiate your Live video from Facebook posts, like using a catchy headline and making a tell-all banner.
- Keep re-introducing yourself and the subject so that the new viewers who have joined the Live in the middle of your streaming know the subject on which you are speaking.
- Make the video visually engaging through voice modulation and the use of graphics. Else, users may find it boring and leave.
- It’s okay if you deviate a bit from your script in the flow of the show. Don’t worry about the mistakes or stutters during the live video. Just continue normally.
- Ask your viewers to subscribe to your page so that they get a notification whenever you start your next live video
- Try to engage with your viewers during the video. Keep an eye on the comments section and try to address those comments during the session itself.
- End your video on an exciting note and try giving them an idea of what your next Live session is going to be about. The viewers must feel rushed the next time you come up with your live broadcast.
Want more such tips? Here are 6 effective tips to help you optimize your Facebook Live videos.
Parting Lines
According to the Founder of Facebook, Mark Zuckerberg, “People interact way more around live videos than regular ones.”
The concept of Facebook Live garnered huge attention from social media users within a few years of its launch. In 2020, Facebook Live video view count was approximately 2 billion.
According to stats, Facebook live videos get 10 times more comments and 6 times more interactions than traditional videos.
So, if you aren’t Live yet, wait no longer!
Marketers can simplify their social media marketing campaigns using advanced marketing tools, like those provided by SocialPilot.
SocialPilot helps you publish and schedule Facebook posts, analyze your performance, and seamlessly communicate with your team, all with one tool.
Try its free trial today!